A couple weekends ago I spent my entire Saturday devoted to refinishing two chairs I picked up from Goodwill for $6! Hours later, I not only had two beautiful {like new} chairs, I also was covered in sweat, had a sunburned back and my hands and legs were covered in a variety of different color paint! I'd say a Saturday well spent :)
 Here are the supplies
 -Kilz Primer in a spray can
-Rust-oleum Satin Aqua spray paint
Small sponge brush
-Sanding block {not pictured}
-Behr Faux Glaze
-Behr black sample paint
 Here are the chairs before in all their wooden glory!
 After two coats of primer
 First coat of aqua paint
 Final coat of paint. Ready for a good sanding!
 There is a picture of my sanding block, you can use whatever grit you prefer, but I'd recommend a high grit sanding block. I had two dull already been used like 100 times sanding blocks, and after all the sanding I felt as if I had arthritis in my hands for days.
 There is no rhyme or reason for sanding. Just let your aggressions out :) I sanded all around the edges and made big sanding marks on the legs and back. The more you sand, the more rustic and aged I think it makes it look. So I sanded, A LOT!
 Up close of the sanded areas, before the glaze was applied
 I used a Tupperware I didn't mind tossing, to mix the faux glaze and the black paint. You truly need very VERY little of this. I had a ton of what's shown above left over. You just pour some glaze in and keep adding the black paint till you get your desired look.
 You paint it on with your sponge brush, and wipe off with a rag {or in my case ripped up, old, nasty, discolored shirts from my husbands drawer!} You can use as little or as much of the black glaze as you wish. It's really nice because if you put too much, you can just wipe it away!
 This is what you're left with after you wipe away the black glaze
 Here is one chair finished
 One finished chair and one the chair I struggled to complete. I kept thinking if I just wait another 5 minutes my husband will get home {from his 5 hour fishing trip} and help me sand the second chair. No such luck. He pulled up just as I was finishing the second chair and picking up my mess. Maybe next time
 I couldn't wait to bring them in the house. I wasn't quite sure where they were going to reside, but after a couple different spots they found their resting spot.

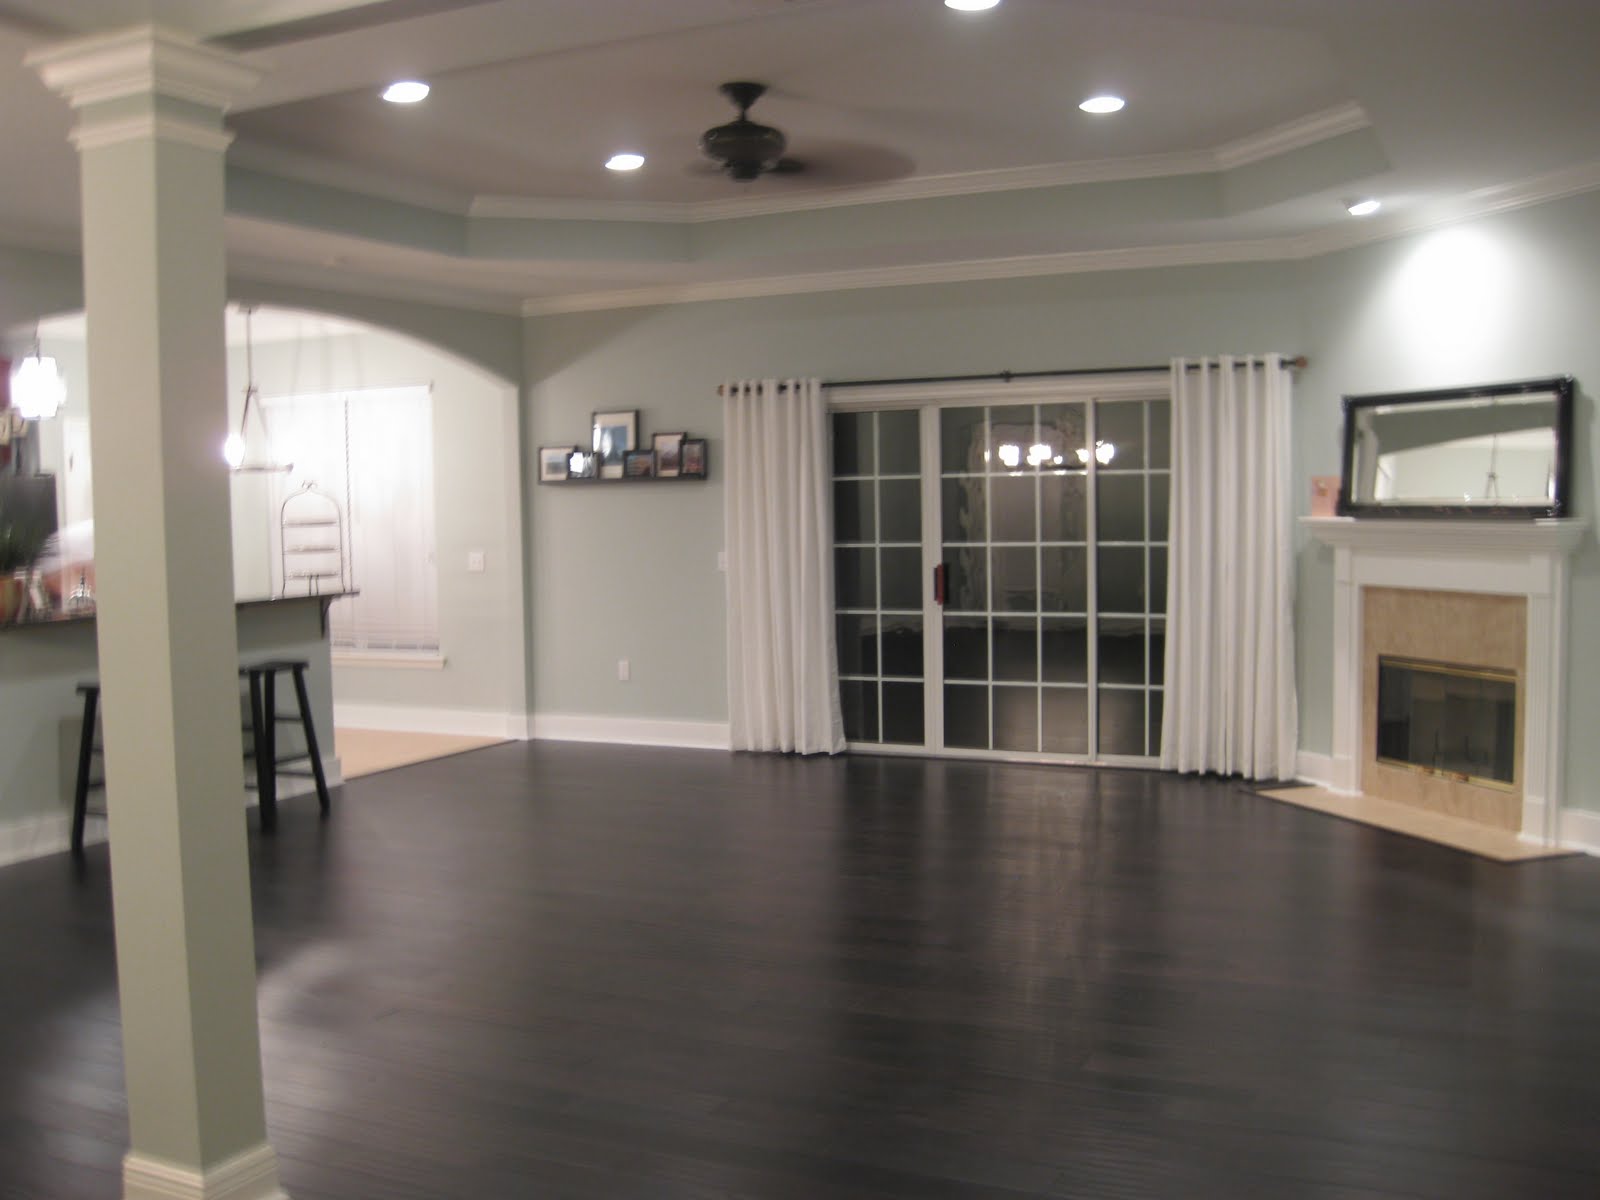
 Landed here, under our picture shelf. Next to my grandmothers side table that my brother refinished when he was here last. Other than the little odds and ins I've found along the way, this was my first venture refinishing furniture of size. And since I just bought a huge antique buffet for our dining room, it definitely will not be my last! Promise to post about that when we finish! Hope everyone enjoys their week, I know me and hubby are looking forward to F-R-I-D-A-Y! Tootles for now :)


 Spray painted the eggs on one side, after they dried rotated them and spray painted the other side.


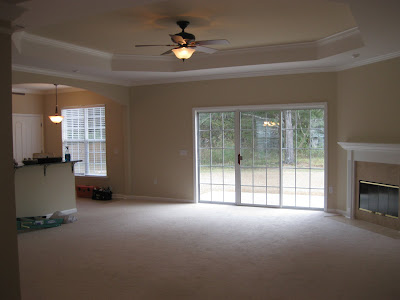


 First piece of floor going down! AHHHHHH :)

 The process went something like - MEASURE
 MARK
MARK 
 TROWEL OUT GLUE
 Todd laying the last piece of floor! You can't see his face but he was as happy as a 5 year-old Christmas morning! Finally, after what seemed like an endless project we had reached the END!